With all of the camera technology we have today a lot of photographers forget to stop and look at the shot before going trigger happy. We have SD cards now that hold thousands of pictures and cameras that take 10 pictures faster then you can say pickles. Although this is good for certain aspects of photography, to grow as a photographer it’s not.
So, what can you do to get out of the bad habit of going trigger happy?
It’s easy really, shoot like your shooting film. Yup, that’s it.
What is it about film that will make you a better photographer? For starters, it makes you analyze the shot before taking it. Once you see something you like, look at it for a bit, walk around it, lay on the floor, get a higher angle, get closer, get further, etc. By doing all of this you’re making sure that you will get the best angle possible for the shot you want.
Once you’ve figured out the angle, you’re going to make sure your composition is spot on. What’s in the background/foreground, is there anything that will make the picture better if I aim the camera slightly right or left? All of these little things will add up to help you create a spectacular image. It could be of something simple, but if you took the time to find its best angle, the best direction for the light and the best composition, you’re guaranteed to have a great picture.
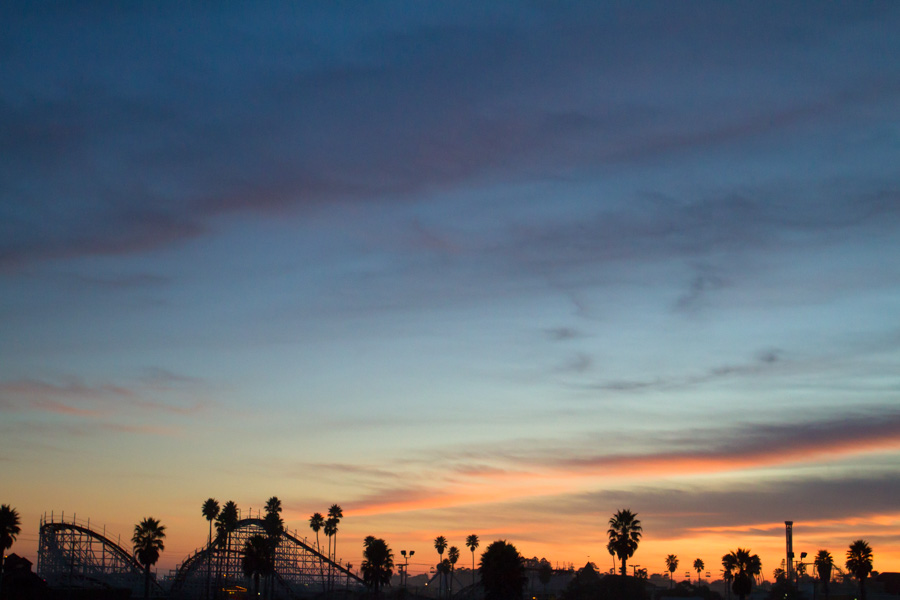
How do you implement this? Well, modern day technology won’t make this easy for you, BUT, with just a little bit of focus you got this! To practice you’re going to want to do a photo essay, but before you head out, pick the amount of pictures that you will take. The most common film rolls allow you to take anywhere from 12 to 36 pictures so you can start there. For my photo essay I decided to take 36 shots, although by the time the sunset I had only taken 21.
Shoot Like It’s Film:
There are two ways you can go about this photo essay. One is for beginners and the other is for people who know their camera a little better and want to test their skills.
The Beginner Method:
If you’re starting off as a photographer, choose an imaginary film roll with more pictures, let’s say, 36. Because you’re beginning you’ll most likely poorly expose/compose some of the images. In this method you’re allowed to look at the pictures you take so that you can fix anything you need to. Still keep your target photo count in mind and don’t exceed it but know that you can test your exposures/composition a little bit.
The Expert Method:
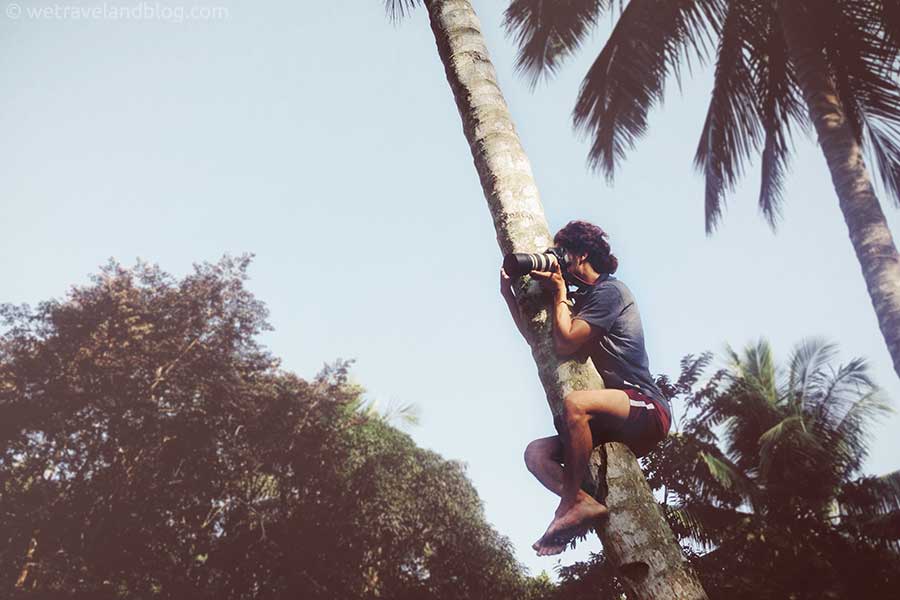
If you already feel comfortable with a camera, go out and take ONLY 12 PICTURES. In this method you’re shooting exactly as if you had a film camera. Your roll has room for 12 shots, so you take just 12 shots and you don’t get to look at what you captured. Go ahead into your menu settings and turn off the image preview. Knowing that you can’t look at the image after you shot it will really force you to make 100% sure you got the photo you want. If you poorly expose or compose them that’s on you and you should’ve taken more time on the picture.
Tips for this Photo Project:
– Keep in mind any high light areas/shadowy areas and don’t let your camera’s light meter fool you!
– TAKE YOUR TIME!! This photo project is all about patience with your camera and your shot.
– Look at all corners through your view finder. If you look straight into your viewfinder you will miss what is on the edges of the photos and you may or may not like what’s there.
For anyone and everyone out there, remember, practice makes perfect! Have a beautiful day.
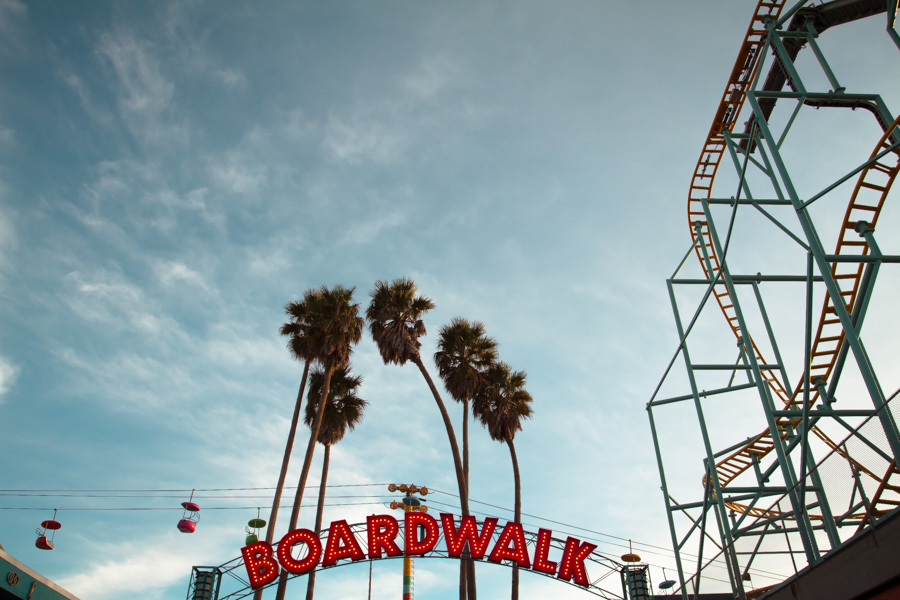
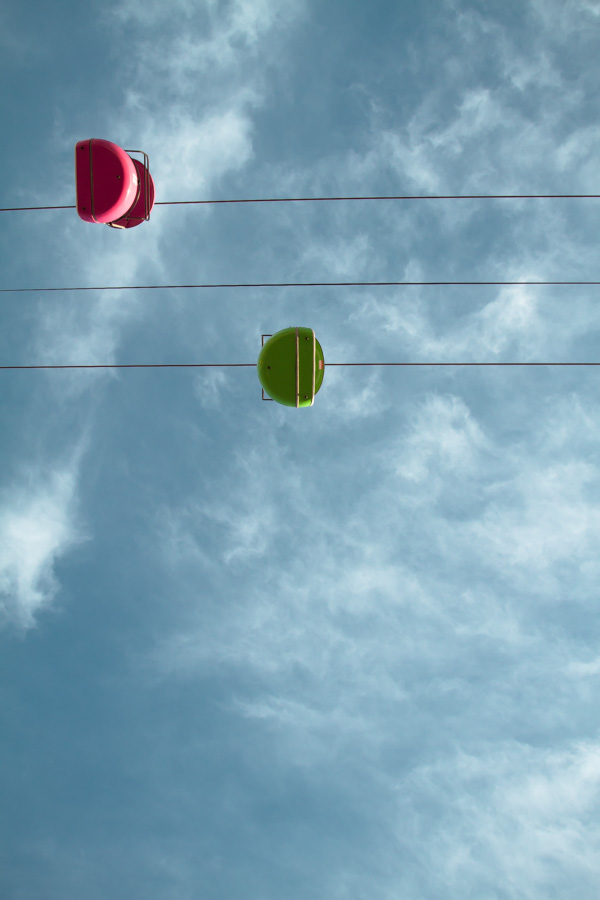
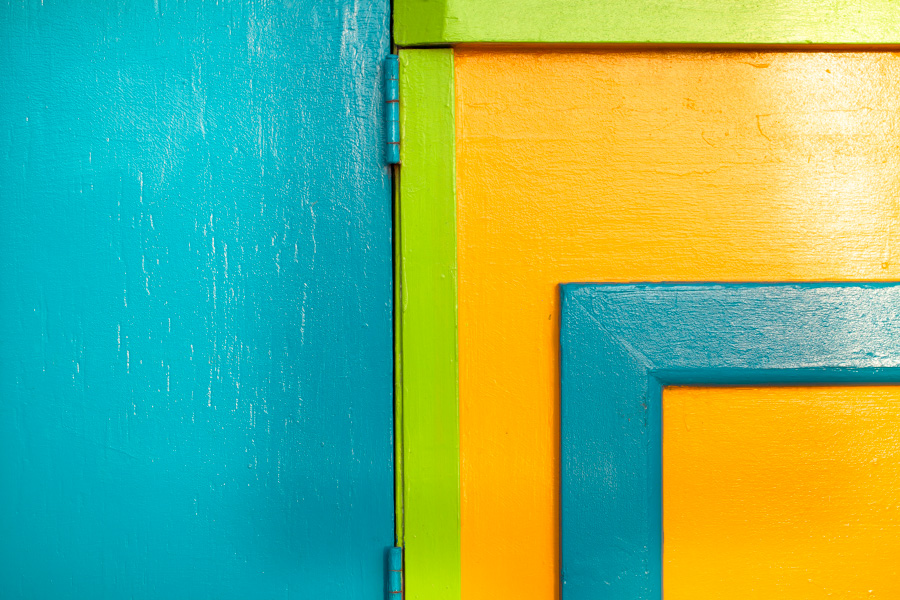
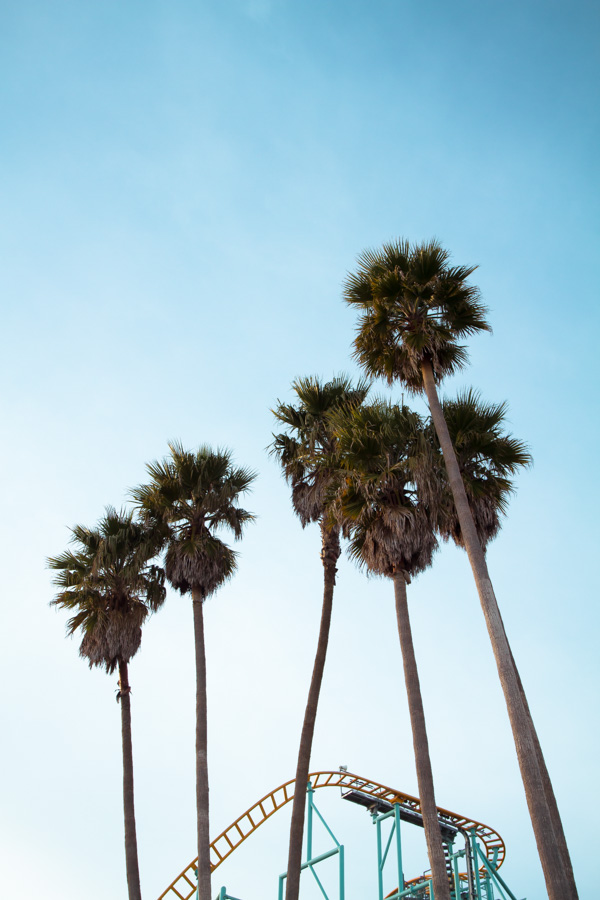
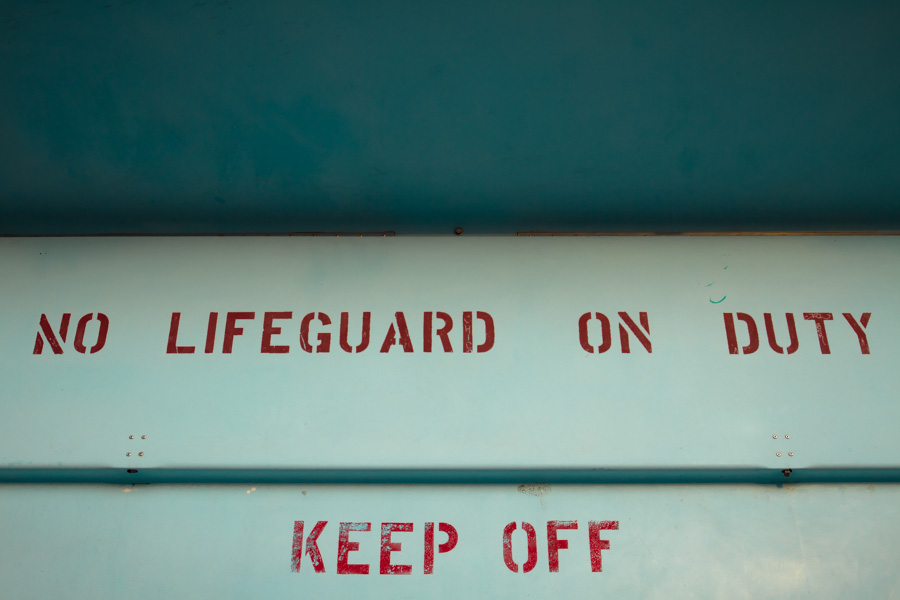
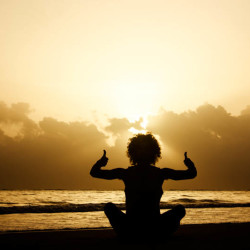
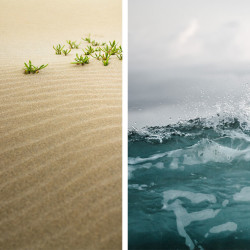
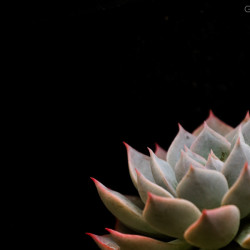
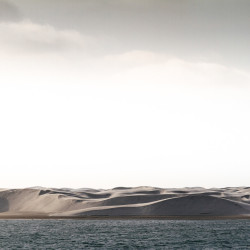
Here’s what I came back with when I did this





Thanks for the tip ;) Great blog guys, the articles are fresh and interesting.
Thanks Aaron, glad you enjoyed the post =D.
Jade, great project. Take it slow and compose…hmmm. Good idea.
Yea it will really help your photography significantly. It really get you to think about everything you’ve learned in photography.