A while ago I posted about how important it is to practice if you want to be a good photographer, or anything in general.
The tip I gave was to do photo projects. I’m one to follow my own advice, so I went out and did a couple of photo projects to improve my photography. This time I made myself a homemade flash diffuser which cost me about a dollar.
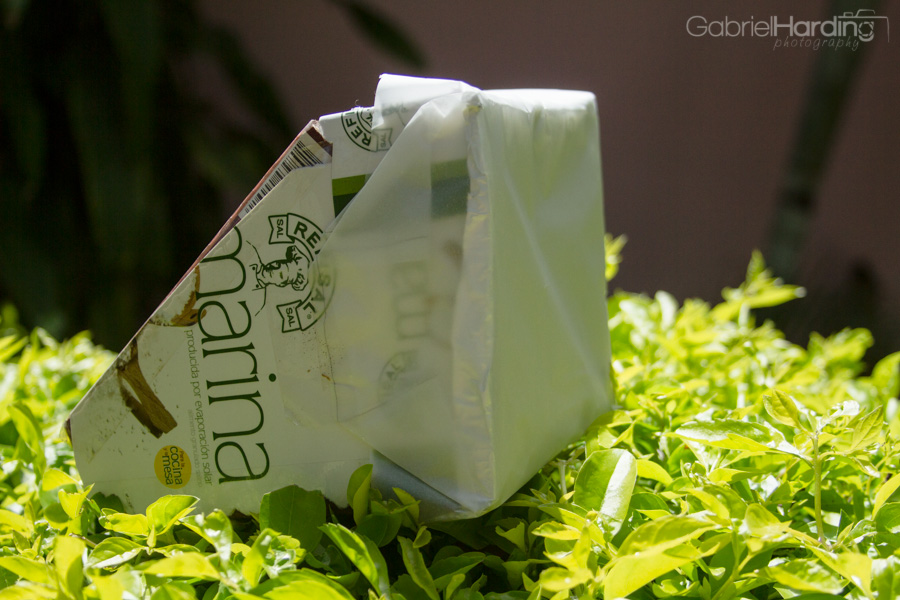
What I did was grab a couple of old boxes I had laying around, saved for this photo project, and tapped them together to create what can be seen above.
You can use an old cereal box, granola bar box or anything. A couple of key points to remember when making your own is to line the inside with aluminum foil and tape it down, and to make the hole the flash goes into a bit smaller so the flash fits snugly in place. For a detailed guide to making your own the guys over at Digital Camera World have a very nice tutorial.
So 10 minutes later, I have my homemade flash diffuser, my camera, and I’m off into the wilderness to see what I can come back with.
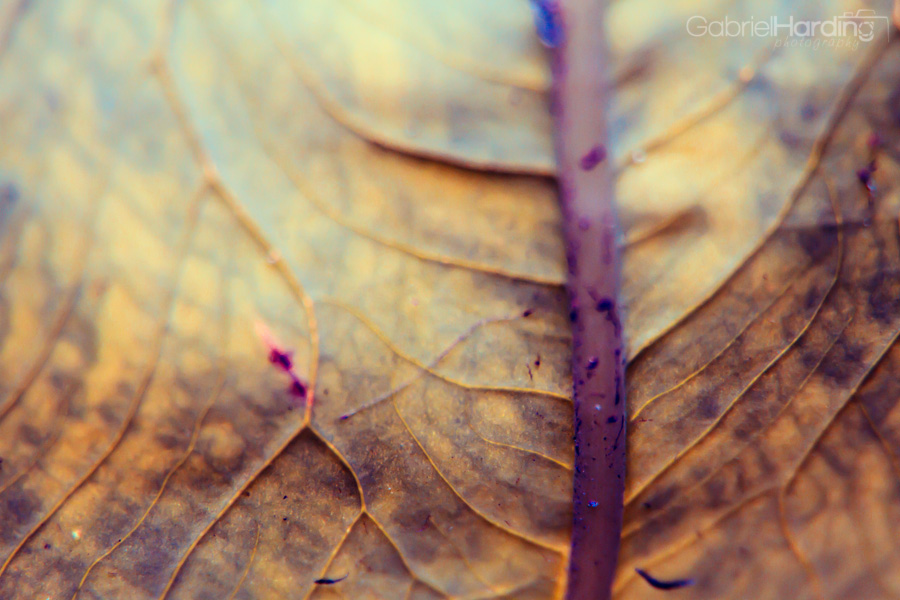
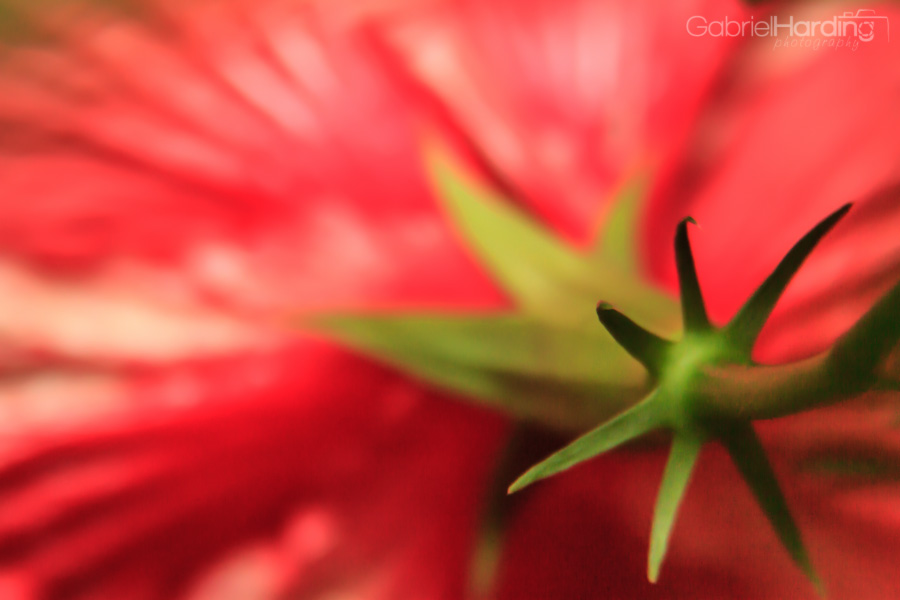
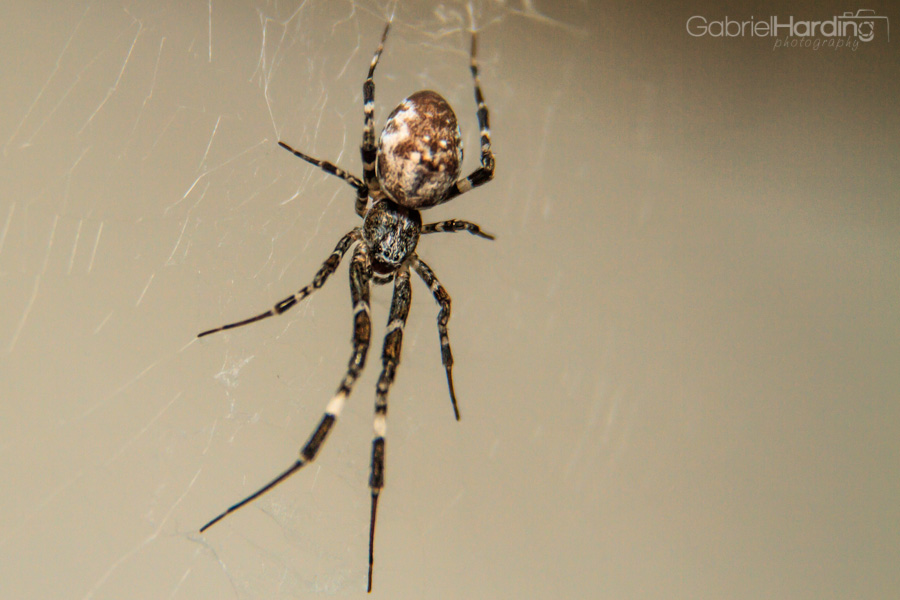
I don’t regularly use a flash so it took a bit of playing around before I got it to shoot like I wanted, but in the end it made for some good shots and for some good future potential.
Quick Photo Project Tip:
With photo projects you want to make sure to focus on on particular aspect. You can choose a color, a lens or a certain setting on your camera and stick with it. Use your imagination and explore the world around you to find things you normally wouldn’t see. I made the flash diffuser primarily to take pictures of little bugs, but as I got close to things and paid attention to the details I came back with a lot more than insect shots.
You can check out our full post about photo projects by following that link.
Feel free to share your photo projects with us for a chance to be featured as a guest poster here!
